

A Step-by-Step Guide: How to Build a Cold Frame for Year-Round Gardening
Gardening enthusiasts, lend me your ears! If you’ve ever dreamt of growing your favorite fruits, vegetables, or flowers all year round, this guide is for you. Today, you will learn how to construct your own cold frame, a simple, yet effective tool in the world of gardening that can help you extend your growing season. But before we delve into the nitty-gritty of building one, let’s first understand what a cold frame is and its numerous benefits.
Introduction to Cold Frames and Their Benefits
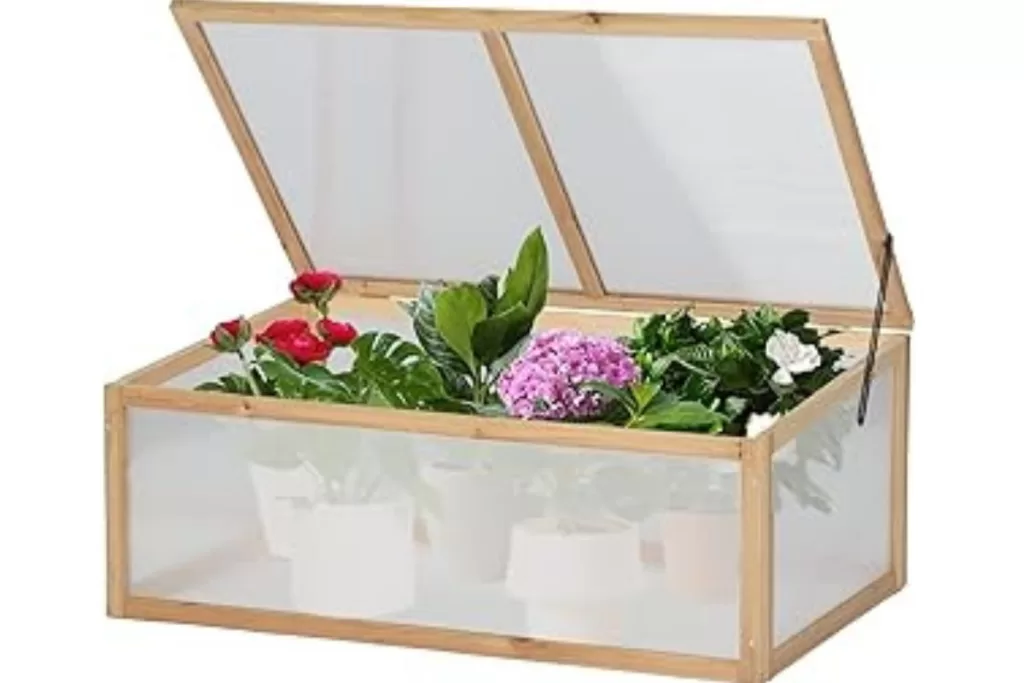
A cold frame is essentially a mini greenhouse that harnesses the sun’s warmth to create a favorable environment for plants, even in the chilliest of seasons. It is typically a low-enclosed box structure with a transparent roof, allowing sunlight to enter and warm the soil and air inside. Cold frames create a microclimate that can be several degrees warmer than the outside ambient temperature, providing a head start for seedlings in spring or extending the growing season into the fall and even winter.
The benefits of using a cold frame in your garden are manifold. First and foremost, a cold frame can help you grow a more diverse range of plants throughout the year. It also allows for better control over the growing conditions, protecting your precious plants from harsh weather conditions like frost, wind, or excessive rainfall. Lastly, cold frames are relatively easy and inexpensive to build, making them an attractive option for many gardeners.
Materials and Tools Needed for Building a Cold Frame
Building a cold frame doesn’t require any specialized skills or expensive materials. Most of the items you’ll need can be found at your local hardware store or might even be lying around in your shed. The basic materials include lumber (2x4s or 2x6s work well), a clear glazing material like polycarbonate or old windows, screws or nails, and hinges for the lid. You’ll also need a few basic tools: a saw, a drill, a tape measure, and a level.
To ensure longevity, consider using rot-resistant wood like cedar or pressure-treated lumber. Alternatively, you can paint or stain the wood for added protection. If you’re using an old window for the top, make sure it’s sturdy and without any cracks. If you’re using polycarbonate, ensure it’s UV-resistant to avoid degradation over time.
Choosing the Right Location for Your Cold Frame
Location is key when it comes to setting up your cold frame. Choose a spot that gets plenty of sun, ideally facing south or southeast to maximize exposure to sunlight. Avoid places near large trees or structures that might cast a shadow over your cold frame. Also, consider the slope of the ground. A slight incline is ideal as it facilitates better drainage and captures more sunlight.
Be mindful of wind patterns in your yard. A spot sheltered from strong winds will help keep your cold frame warmer. Lastly, consider accessibility. Ensure the location is easily reachable for watering, venting, and harvesting. Remember, convenience is key in maintaining and caring for your cold frame throughout the year.
Building the Base and Frame of the Cold Frame
Now, let’s get to building! Start by measuring and cutting your lumber to size. The exact dimensions will depend on your desired cold frame size. A typical size might be 3 feet wide by 6 feet long, but the size can be adjusted to fit your needs. Remember, the back wall should be slightly taller than the front wall to allow the lid to slope for better sun exposure and drainage.
Once you’ve cut your lumber, assemble the base. Use screws or nails to join the corners, ensuring they’re square. Next, attach the front and back walls to the base. Make sure everything is level before securing. Then, attach the side walls. You now have a solid frame!
Adding the Glazing to the Cold Frame
Next, it’s time to add the glazing, which will allow sunlight to penetrate and heat the cold frame. If you’re using an old window, simply attach it to the back wall using hinges. Ensure it opens and closes smoothly. If you’re using polycarbonate, cut it to size and secure it to a frame constructed from 1×2 lumber before attaching it to the cold frame.
The lid should sit flush with the top of the frame, ensuring maximum heat retention. Remember to secure the lid with a chain or a stay to prevent it from flipping over when opened for ventilation or access.
Creating the Ventilation System for Your Cold Frame
Ventilation is crucial in a cold frame to prevent overheating on sunny days. A simple way to create ventilation is to prop open the lid using a stick or rod. However, for a more advanced setup, consider installing an automatic vent opener. These openers respond to temperature changes, opening when it gets too hot and closing when it cools down, providing a hands-off approach to temperature control.
Make sure to monitor the temperature regularly, especially on sunny days. A good rule of thumb is to vent the frame when temperatures inside reach about 10-12 degrees Celsius (50-55 degrees Fahrenheit) to prevent plants from getting scorched.
Preparing the Soil and Planting in the Cold Frame
With the construction complete, it’s time to prepare the soil. Start by removing any existing grass or weeds in the frame. Then, loosen the soil with a fork or tiller and mix in some compost or well-rotted manure to boost fertility. Once your soil is prepared, you’re ready to plant!
Planting in a cold frame is similar to planting in an open garden. However, keep in mind that plants inside a cold frame may grow faster due to the warmer conditions, so plan your planting schedule accordingly. Remember, cold frames are ideal for growing cool-season crops like lettuce, spinach, and radishes in early spring or late fall and can even house hardier plants during the winter.
Maintaining and Caring for Your Cold Frame Throughout the Year
Proper maintenance is essential to ensure your cold frame gardening is a success. Regularly check on your plants, water them when the soil feels dry, and vent the frame as needed to regulate temperature. In warmer months, you might need to shade the frame to prevent overheating. In winter, consider insulating the frame with straw or bubble wrap for extra warmth.
Keep an eye out for pests and diseases. A cold frame is a closed environment, which can sometimes encourage certain pests or fungi. Regular monitoring and early intervention can prevent minor issues from becoming major problems. Remember, a well-cared-for cold frame can provide a bountiful harvest year-round!
Extending the Growing Season with a Cold Frame
A cold frame is an effective tool to extend your growing season. Begin planting earlier in the spring, continue harvesting later into the fall, and grow cold-tolerant plants throughout the winter. You can also use the cold frame to harden off seedlings before transplanting them into the open garden. The possibilities are endless!
Final Thoughts on Cold Frame Gardening
Building a cold frame is an affordable and straightforward project that can yield big rewards. By following this guide, you’ll not only extend your growing season but also enhance the diversity of plants in your garden. With a little effort and care, you can transform your garden into a year-round oasis of fresh, homegrown produce.
Remember, the journey of cold frame gardening is an adventure, not a destination. So, keep experimenting, learning, and most importantly, enjoying the fruits (and vegetables!) of your labor.